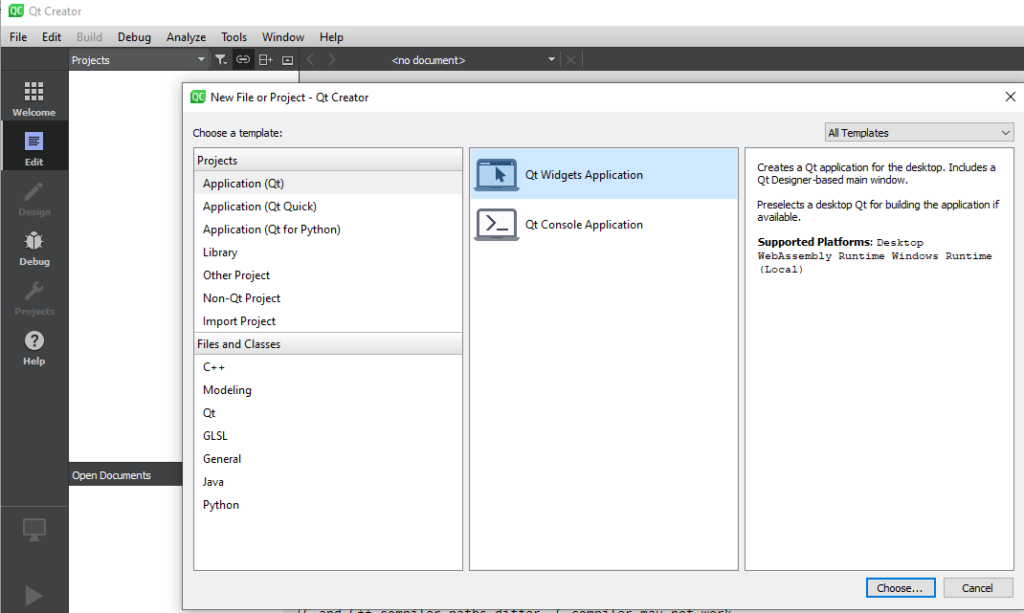
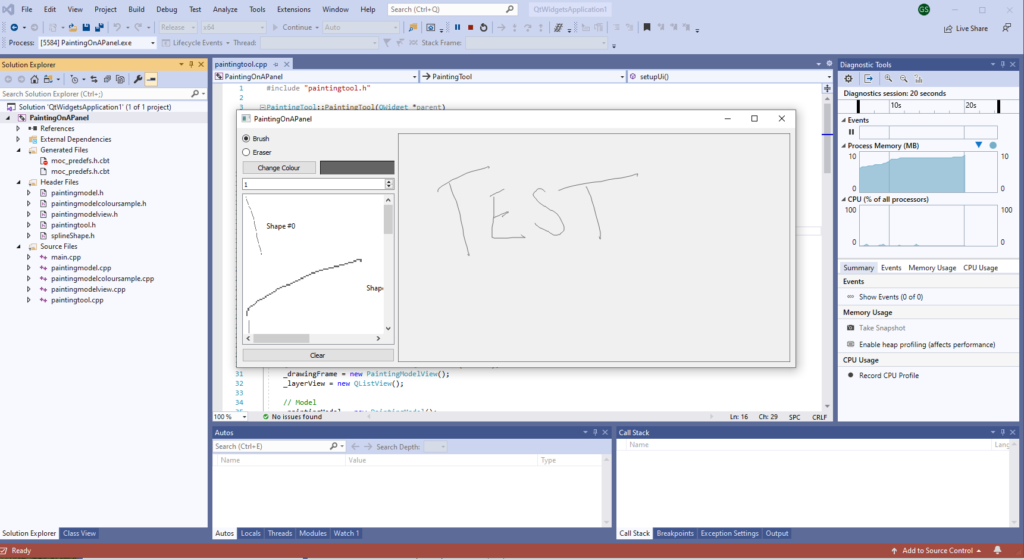
In my last blog, I looked at porting a Python PySide App project over to C++ and for that, I used QtCreator as my Integrated development environment (IDE) as it shipped with the Qt build and it worked out the box, setting its self up and allowing me to create a test widget project, build and run it within minutes.
For the last 10+ years, I have, like many many others, have used Microsoft Visual Studio as their goto IDE (for compiled code anyway) and whilst QtCreator certainly works and can do the job, it’s lacking a lot of very helpful features Visual Studio has and just makes when writing and debugging code, increasing productivity and throughput.
Building Qt projects outside of QtCreator and its pipeline and toolchain used to be a real pain as the building of the code requires running the code through the Meta-Object Compiler (moc) which is required to generate the comper code for all the slots and signal systems, there is a very nice article about it by Qt.
Thankfully the Qt Company has created a Visual Studio extension that streamlines the whole process, from creating a new Qt project, importing an existing Qt .pro file, and all the steps around building and compiling.
So lets breakdown how to get, setup, and build a Qt project with Visual Studio 2019.
The first step is just to download Qt from its website at https://www.qt.io/download and get that installed on your computer. It can be quite large, I know there were some issues back in the day on having it on another disk drive, but nowadays you can put it anyway.
During the setup process, it’s going to ask for what you want to install, it’s unlikely that you will use all the different components, so just all of it, so make sure to select MSVC 2019 – 64 Bit if your running Visual Studio 2019 and MSVC 2015 – 64 Bit if you’re using Visual Studio 2017.

With that installed, I would recommend opening up QtCreator and just creating a dummy project to just make sure everything is set up and working correctly.

Using the QtWidget Application and house the “Desktop Qt 5.15.0 MSVC2019 64bit” kit in the kit selection screen, you should be able to hit the green play icon and build and run this empty widget application, resulting in a lovely grey window called “MainWindow”
With the Qt install verified and working, let’s move on to Visual Studio.
Make sure to download and install the correct version of the Visual Studio extension for your version:
2019 – https://marketplace.visualstudio.com/items?itemName=TheQtCompany.QtVisualStudioTools2019
2017 – https://marketplace.visualstudio.com/items?itemName=TheQtCompany.QtVisualStudioTools-19123
With that installed (and your computer restarted), launching Visual Studio 2019 has a new menu bar under the “Extensions” menu, and we’ll need to open the Qt Options to ensure it’s all configured correctly before we can build.

Here you can add and remove different Qt versions you intend to build on. Its important to note, that if you have both Visual Studio 2017 and Visual Studio 2019 setup with the Qt extensions, they will share the same Qt Options, so removing one from one, will result it being removed from the other.

Something that tripped me up for a lot longer than I care to mention, is that it auto-detected the wrong version of Qt, going instead for the “winrt_x64_msvc2019”, which would mean that it’s trying to build on Windows RT, rather than standard Windows. For me, this manifested as a QMake issue.
Now we should be in a position to create a new Qt Widgets Application, checking that the Qt version you set up in the Qt Options is coming through as part of the setup wizard

Once that’s all finished, hitting the “Local Windows Debugger” will kick off the compile and Qt toolchain, resulting in another lovely grey window called “QtWidgetsApplication”.
With everything verified as setup and working, you should be able to open the .pro file from my last project into Visual Studios and build it without any issues.

And with that, you are now fully set up to use Qt with Visual Studios for all of your projects, allowing you to develop in the most efficient way possible whilst also allowing you to seamlessly use the most powerful framework around.
Thanks for taking this Visual Studios and Qt journey with me.
– Geoff