Graphical Math: Getting Started
Tutorial 3: Manipulating Nodes
Now we can create and link nodes, lets take a look at now to speed up the process of linking nodes, and what features are there to make the whole interface more natural.
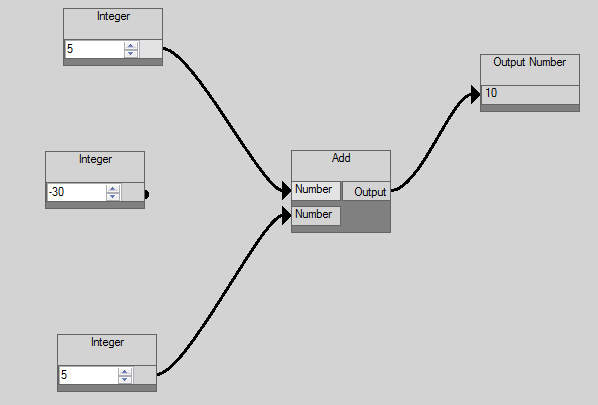
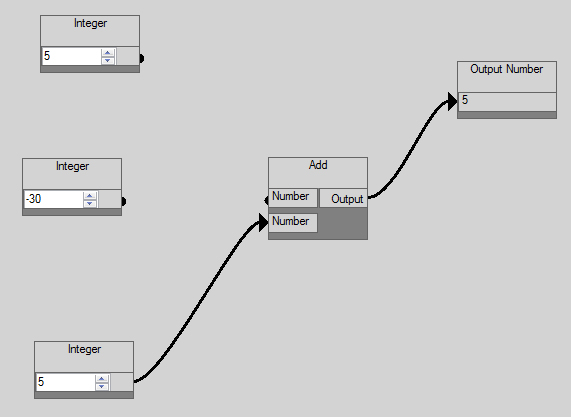
In this first example, we have a simple setup of 3 INPUT NODES, an ADD NODE and an OUTPUT NODE.
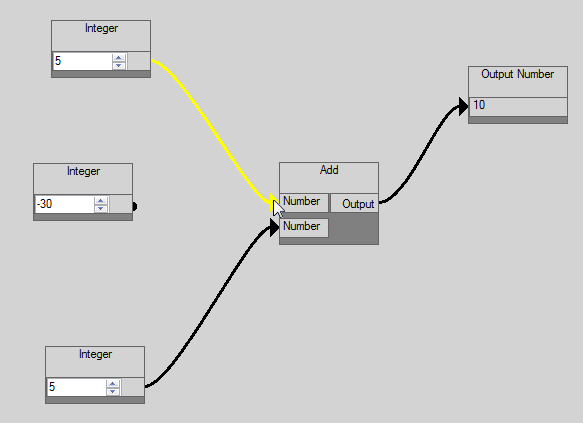
By selecting on the arrow of one of the linked nodes, we will select it, identified by the link becoming yellow.
Now we have that link selected, by moving we will break that link, and it will give us the opptunity to re-assign the link.
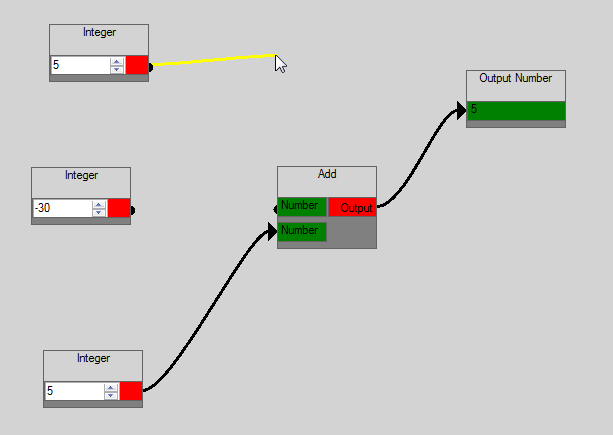
If the link is dropped onto a blank part of the slate, it will be droped and the connection forgotten about
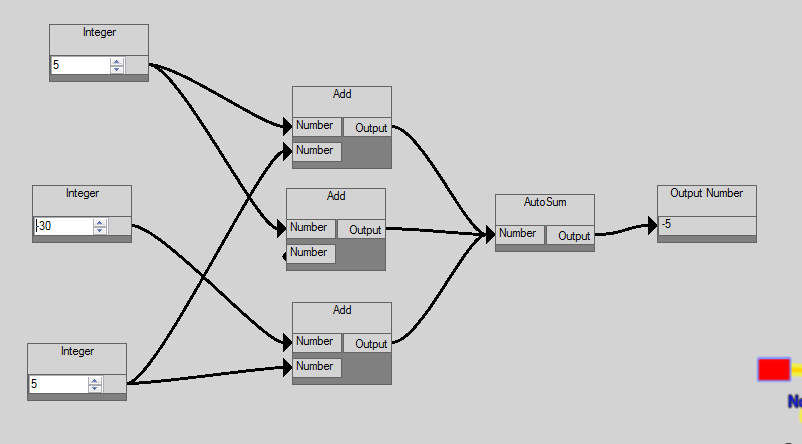
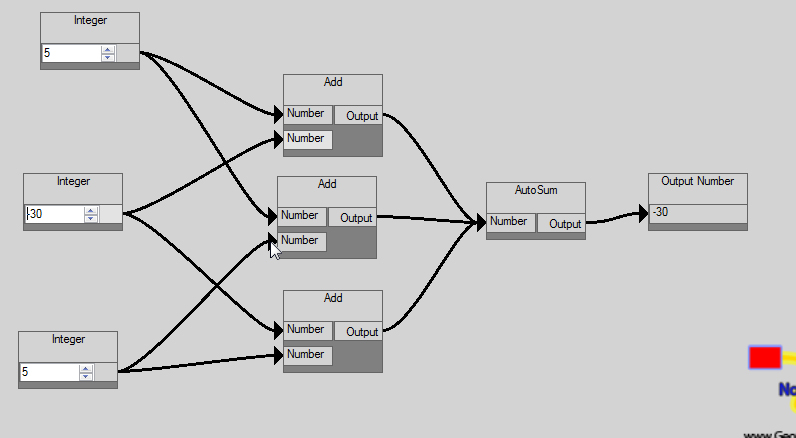
In this next example, we have expanded on the orginal example with more ADD NODES and an AUTOSUM NODE.
By selecting one of the MATH NODE inputs, we can move it to another input area of another node and drop it.
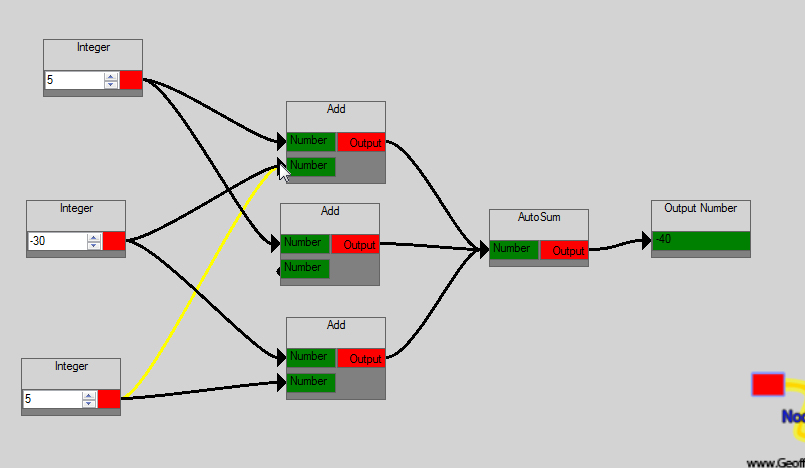
This will unlink the current connection and link in the new connection